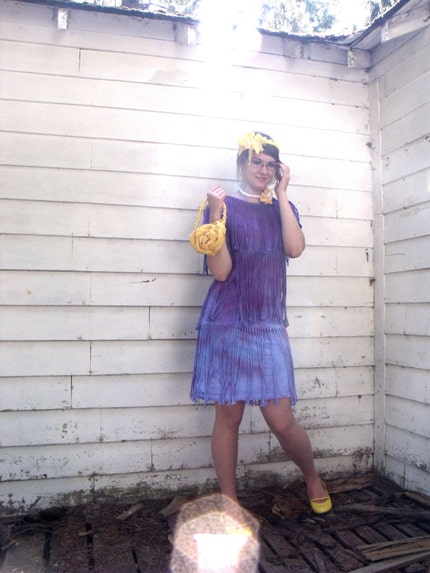

You will need 2 large t-shirts and 2 small t-shirts. Plus scissors, thread, sewing machine, dye, soda ash and all the rest of the sewing stuff and dyeing stuff.

Put the small shirt on, and measure from the bottom edge to the point that you want your dress to come to. I wanted mine to come to just above my knee. So I would need to add 13".
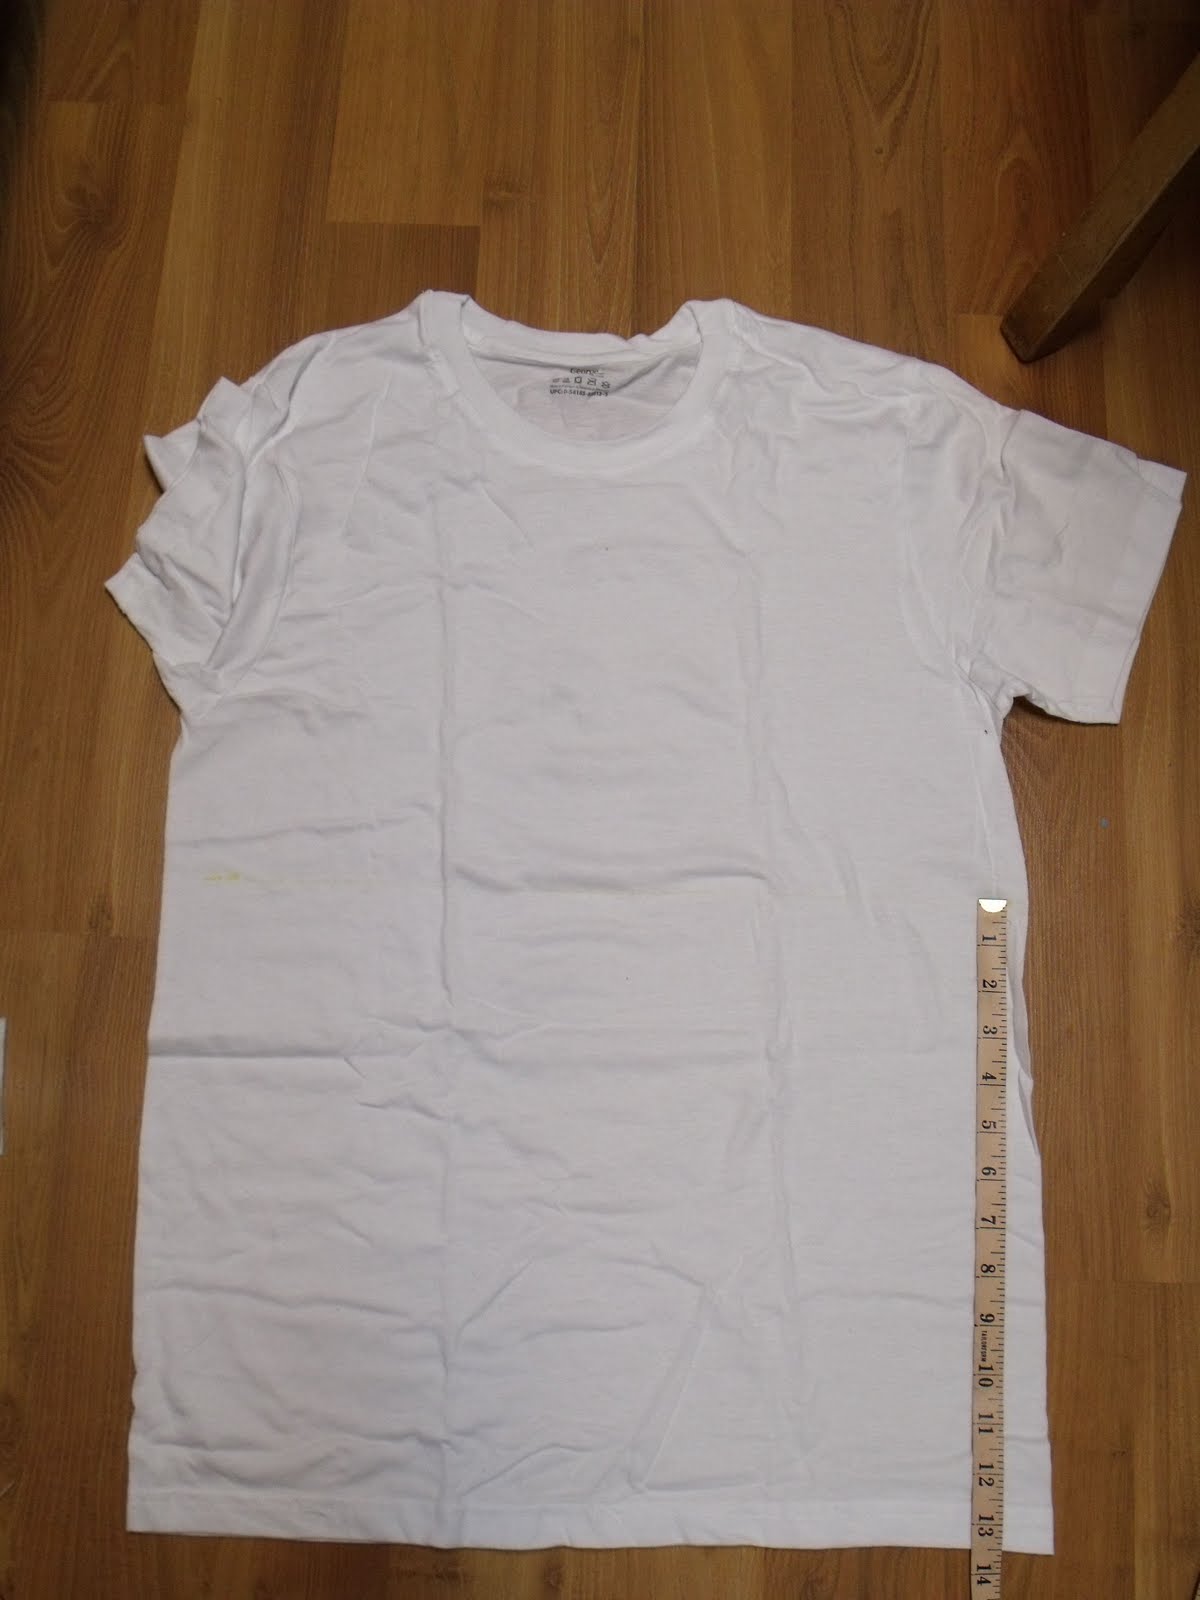
Measure 13"(or how ever many inches) from the bottom of another small shirt. Then draw a line with some chalk and cut off the top part of the shirt.
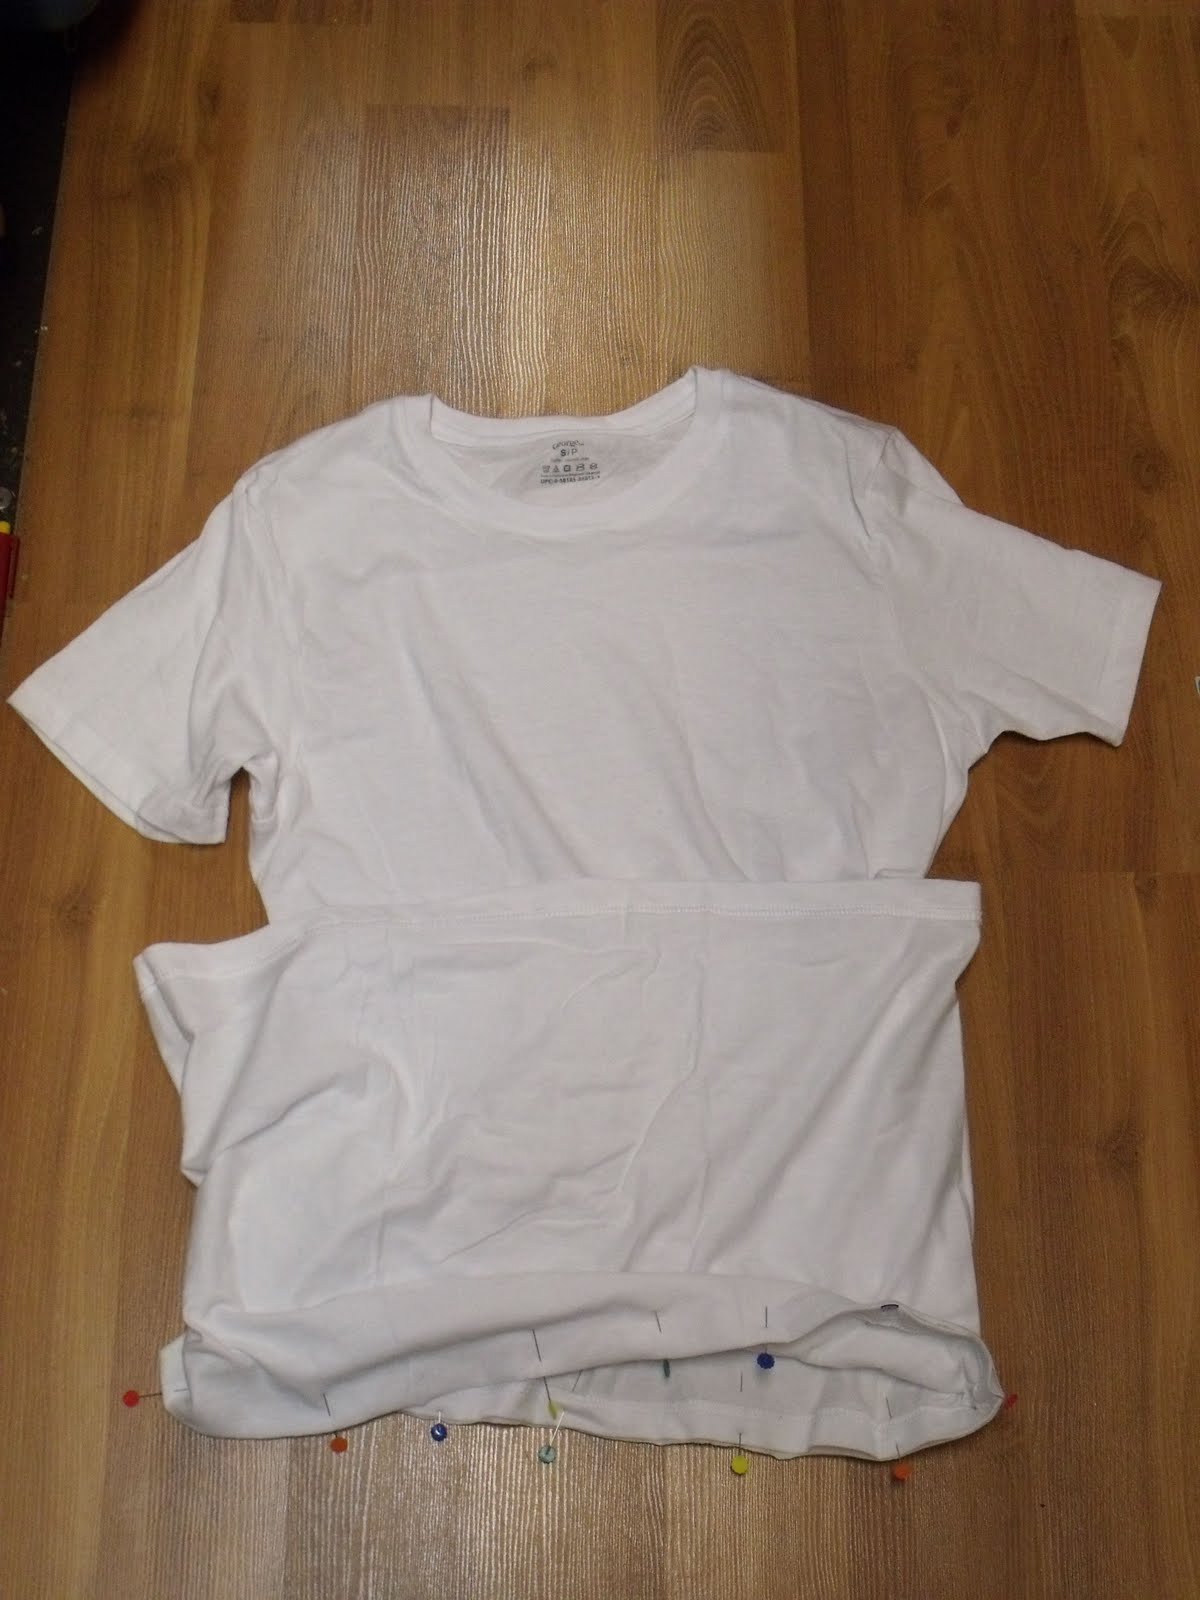
Pin the raw edge of t-shirt tube to the bottom hem of the other small shirt, right sides togather. Then sew them together, sewing it so that the hem stiching is hidden inside. You will want to use a ball point needle, otherwise a normal needle will make little holes in jersey! I learned that the hard way :P Also you will want to use a stich with some stretch, I used a fairly narrow zig zag. Oh yes!!! And use polyester thread! It has some stretch to it, otherwise if you were to use cotton thread it may snap when the fabric stretches!

You should now have something that looks like this!

Cut the sleeves and the bottom hem off the large shirts. When you cut the sleeves off, make sure to cut right along the seam, so you don't damage either the shirt or the sleeves, later those sleeves are going to be used. Then starting from the bottom, measure however long (13" for me) the skirt part is, mark it then draw a line and cut along it.

Measure from the bottom another 13" (or however much you measured before). Mark it, cut it, then square it off (as shown above). And also cut the neck band off.
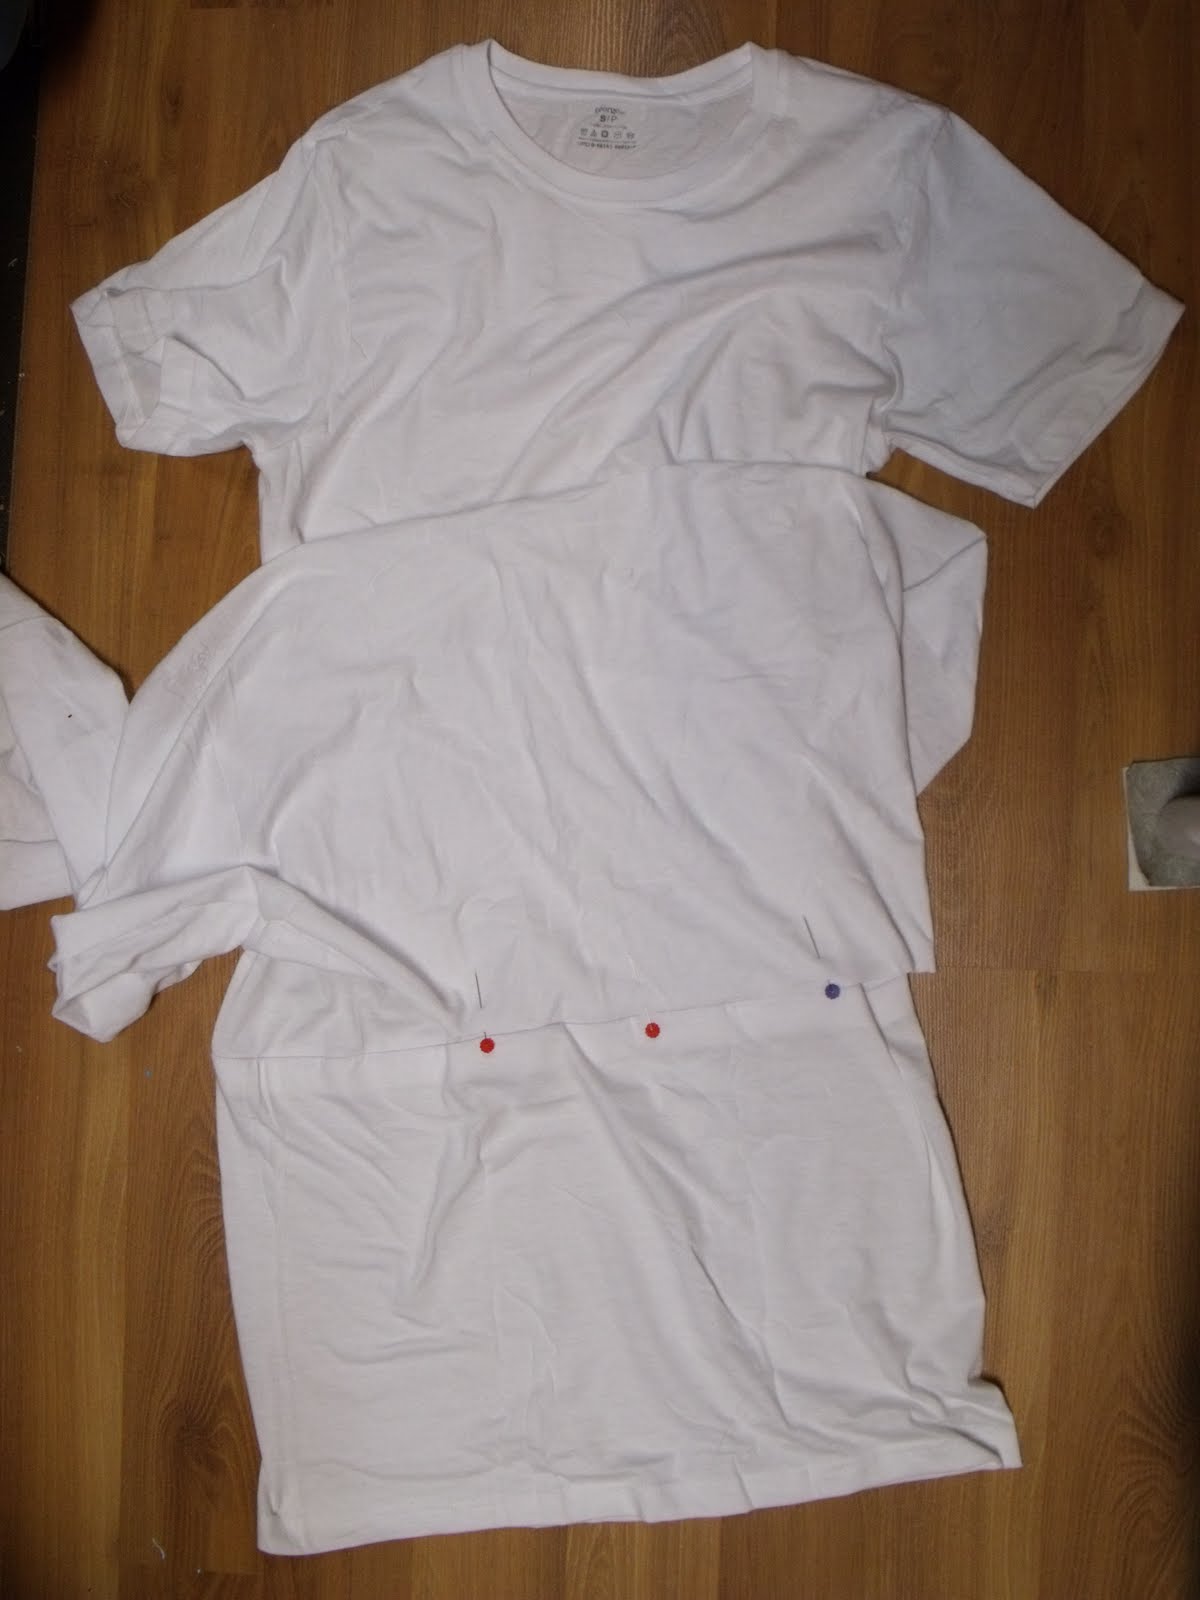
Get one of the 13" tubes from the bottom of a large shirt (from the step before), cut it down one edge so it makes a long strip, and pin it along the seam where you sewed the shirt to the skirt part. You will want to sew it so that when you are wearing it, the stiching will be hidden. After you have sewn it, you pull the top of the fabric piece down to match up with the bottom hem. If I have just totally confused you, let me know and I will try to clarify it :)

Put a sleeve from the large shirt nose to nose with a sleeve on the dress. 

Then pull the large sleeve over the dress sleeve untill the shoulder seams match up. Well the large sleeve doesn't have a shoulder seam, but match up where it use to be.

Pin it on, then sew it down.

This is the same method as the first flap that we sewed on in the last step. When you pull it down, the stiching will be hidden inside. And now you have a double sleeve!

Now cut just the ribbing off of the collar. Not the stiching, just the ribbing!

Close up of where to cut.

Take a 13" piece like this that has a dip in it from the neckline.

Smooth out the neckline so it... so that little piece is gone.... just look at the picture and cut that off!!!!!!!

Pin the last piece's neckline to the neckline of the dress. The piece should be inside the dress now. You want the right side of the piece, to be against the wrong side of the dress. Then top stich!

Take the other tube from the bottom of the other large shirt, and cut a slit down it too. Then do the same sort of thing as you did on the last layer. Line up one edge with the seam from the last layer, then mark where the top comes to, then draw a line all the way around the dress at that point. Take the bottom edge of the strip, and pin it just above that line. Sew it down like you did before, so that when you pull the layer down, the stiching is hidden!

Take the piece with the neckline cut out of it, and cut on either side of the neckline where it is full length(13"). Now you have two strips. Take the other piece and cut two more pieces the same width and 13" long.

Sew a piece on to the shoulder seam in the same method as the layers on the dress, so when you flip it over the seams are hidden.

See, here it is flipped over. you can top stich it if you like :)

Or you can pin them on with the raw edges tucked under, then topstich them.
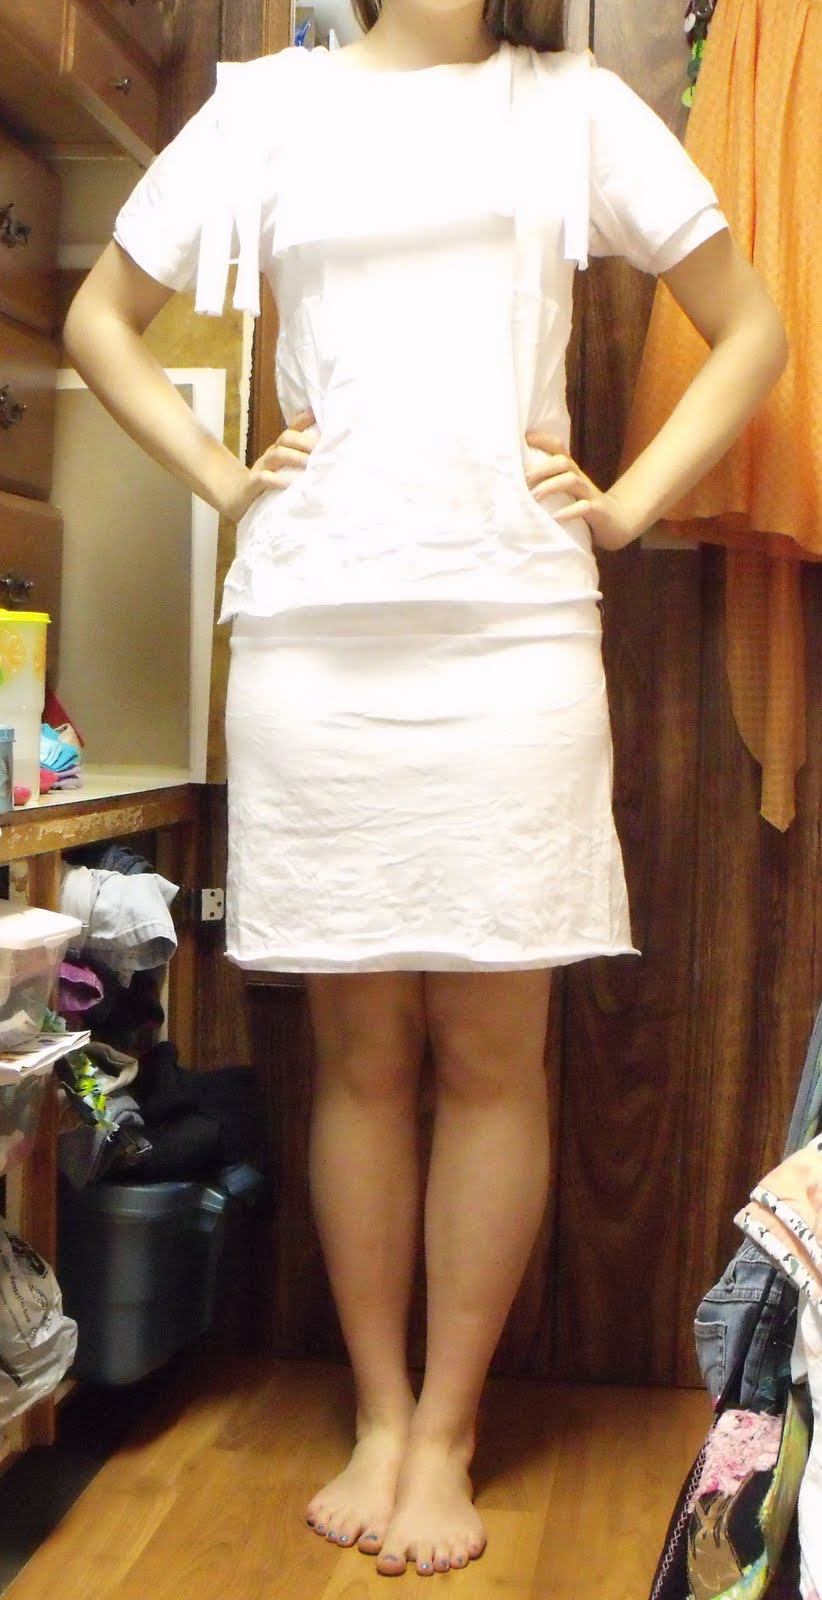
You should now have this!! You are about half done :)
Now you can dye it! Or just leave it whatever color your t-shirts are.

Now that the dyeing is done, I have started to snip the fringe. You don't want to cut the fringe too thin or else it may be too flimsy and rip off. But if it's too thick, it won't look as good. You can fold it the layer in half and cut it (sometimes things get a little tricky doing it this way).

I like to do it this way, with the layer unfolded. Make sure you keep the dress out of the way so you don't snip any holes in it (that happened to the last one I made). And be carefull to not snip clothing or anything else!!!
Now you just snip! Snip! Snip! Snip! Snippity! Snip snip!

Take a break and appease the cat so she doesn't paw at the fringe! Isn't she cute :)

Snip. Snip. Snip. Snip....SNIP!!!!
Keep going till all the layers are done, including the one around the neckline, and the ones on the shoulders.

Cut the hems off the sleeves.

It should look like this! Make sure both arms are the same length.

Cut a slit in the top of the sleeve, at the shoulder seam. Make sure to not cut through both layers, unless you don't want a sleeve. Cut out the seam in the bottom of the sleeve at the armpit. Then starting at the top, cut the top sleeve into a fringe.

Ta da!!!! You are done :) Yaaaaay! *round of appluase*

The back of it.

Now get out there and twirl in it!!!! Let those fringes fly! :D
If you would like to purchase this dress, you can buy it at my Esty shop Be My Bumblebee!
If you don't understand my instructions, let me know and I will try my best to help you out! I hope you all enjoyed this tutorial :)


