Search This Blog

Friday, April 30, 2010

Snow!!!!

It snowed like crazy yesterday!!! In some places it was almost over my rubber boots! Then my mom got stuck in our neighbors driveway. But hey, what would Alberta be without our spring snowstorm? Today the sun is shining, and the green grass is starting to show through.

 And a new bud has opened on my jasmine plant! The fragrance is breathtaking! Mmmm :) 

Wednesday, April 28, 2010

Today's Rain Outfit!


Arrrrgh!! The umbrella is eating meeeeeee!

I went to great lengths to get todays pictures. I had to convince my sister to take some pictures of me. Because it was raining I couldn't use my normal set up with the timer (I didn't want to get my camera wet). And then my mom's dumb umbrella kept folding up everytime the wind caught it!!! Arrrrrgh! But notice how the boots match my tights, they are both plaid, black and the same shade of pink :) Yay!!! For some crazy reason I love matching! 

New Stuff In My Shop!

I just added a lovely new purse today to my shop Be My Bumblebee, plus last week I added the flapper dress I made a tutorial for (see picture). And I replaced a lot of my old pictures with some more exciteing ones. After reading all the wonderfull articles that Etsy sends out in the newsletter, I decided to make some updates to my approach. I also learned how to add a mini Etsy shop to my Facebook fan page! Just click HERE to become a fan!!!

Friday, April 23, 2010

How To Make a Flapper Dress!


One day I was on the Threadbanger forums and I saw that Leana was in need of a dress to wear to a wedding. And she was wondering if anyone had any suggestions on how to make a really nice one, that didn't cost a lot. So seeing that no one had replied, I decided to leave a  picture of one of the dresses I made and she loved it! So of course she asked for a tutorial on how to make it. So here it is!! Sorry I forgot how involved it really was *whew* It took a while, but at last it is here :)
You will need 2 large t-shirts and 2 small t-shirts. Plus scissors, thread, sewing machine, dye, soda ash and all the rest of the sewing stuff and dyeing stuff.

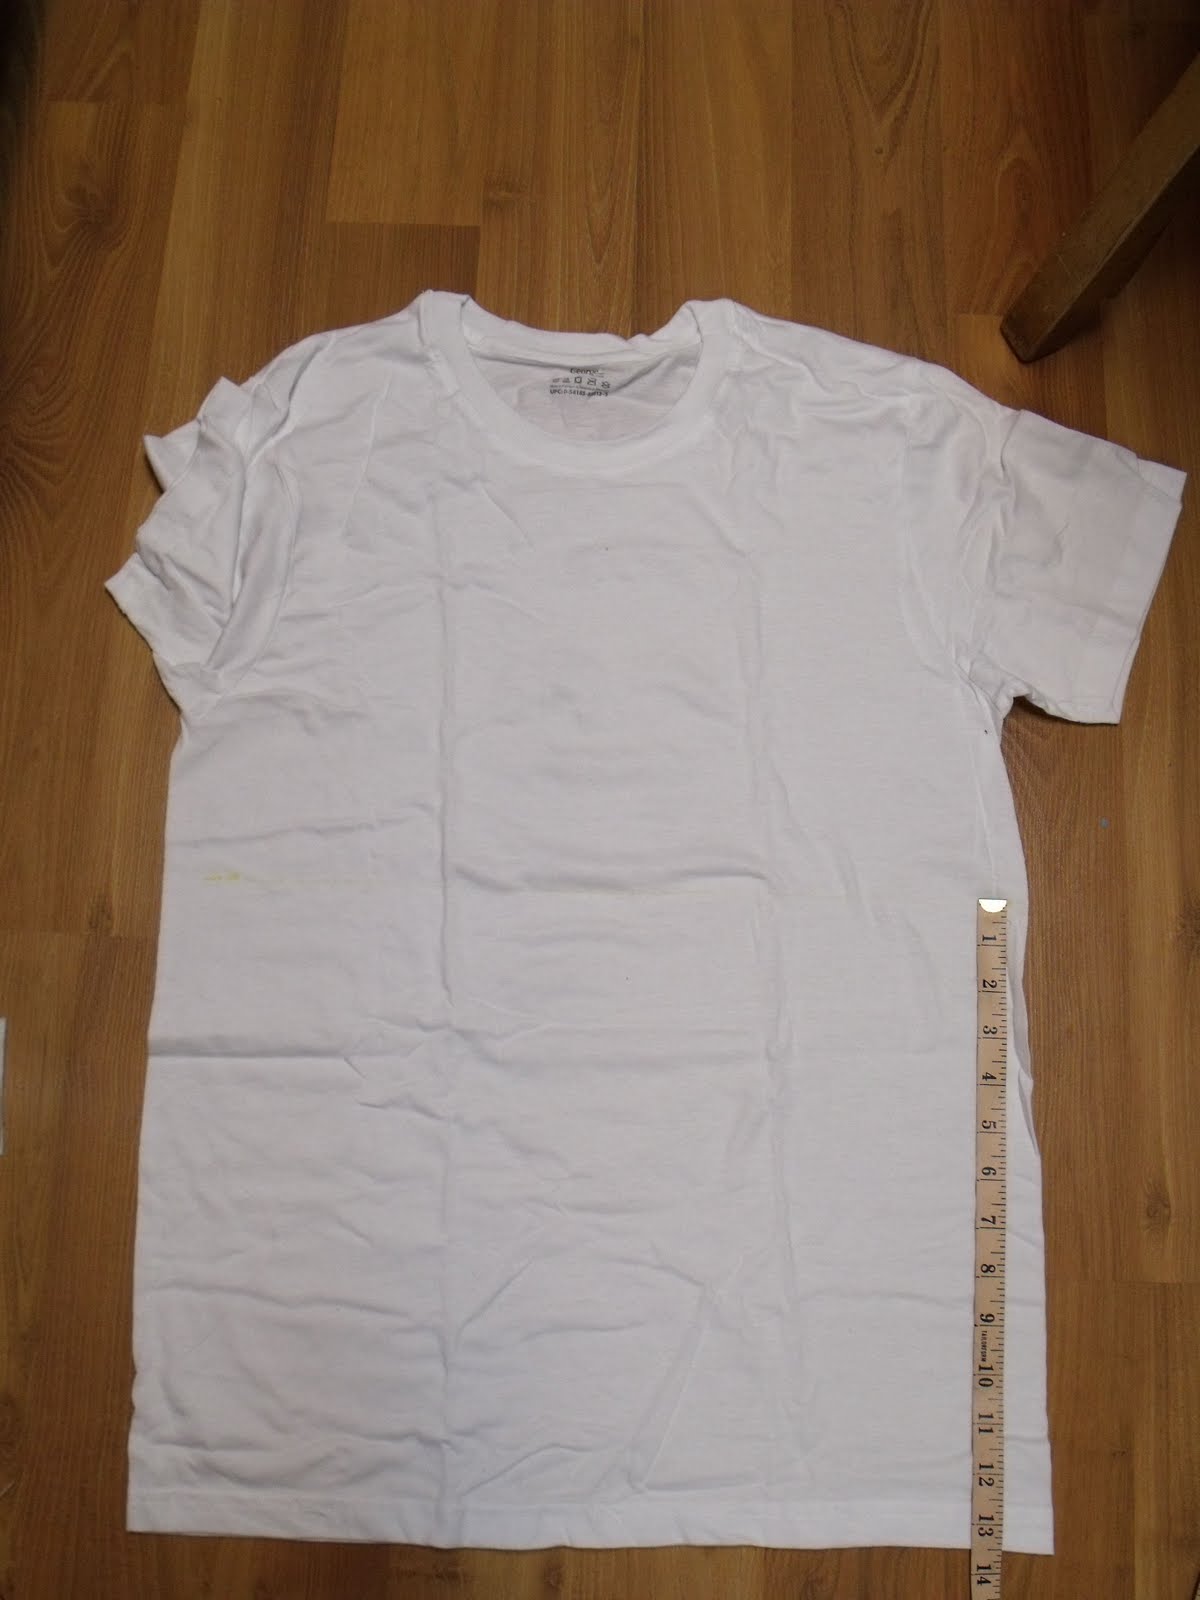
Put the small shirt on, and measure from the bottom edge to the point that you want your dress to come to. I wanted mine to come to just above my knee. So I would need to add 13".


Measure 13"(or how ever many inches) from the bottom of another small shirt. Then draw a line with some chalk and cut off the top part of the shirt.


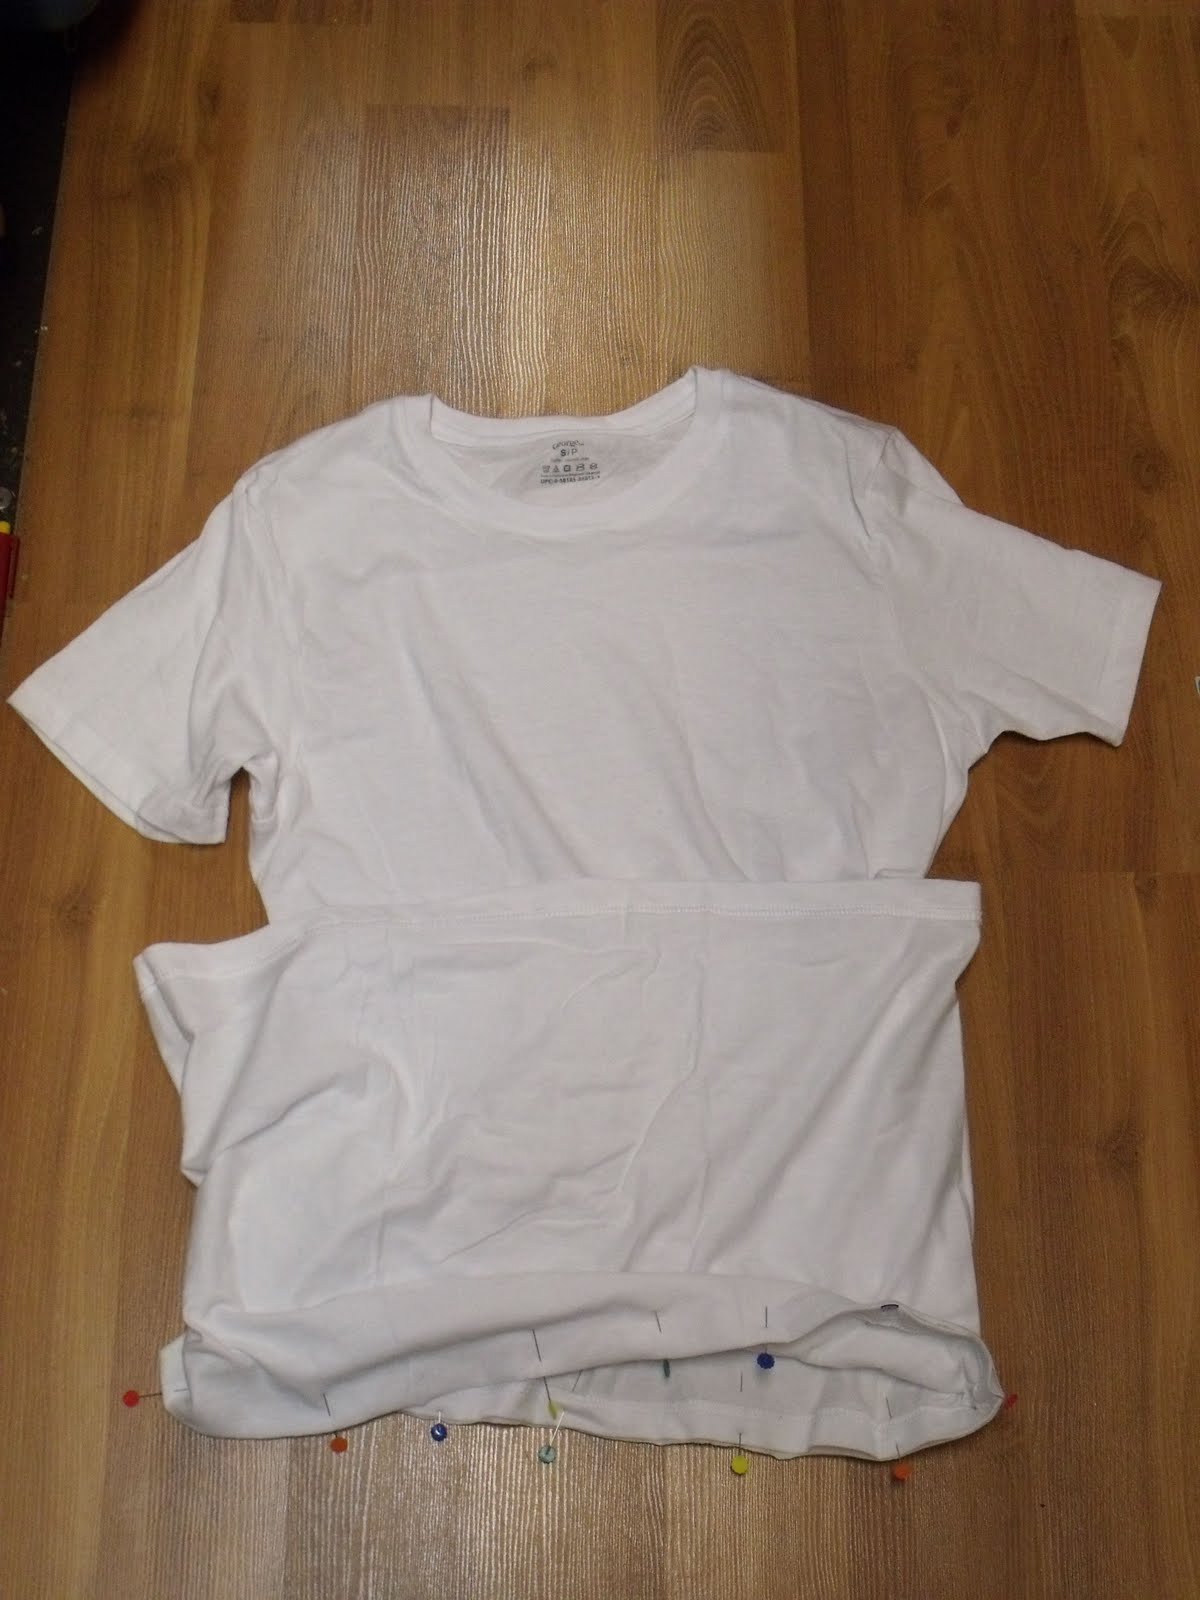
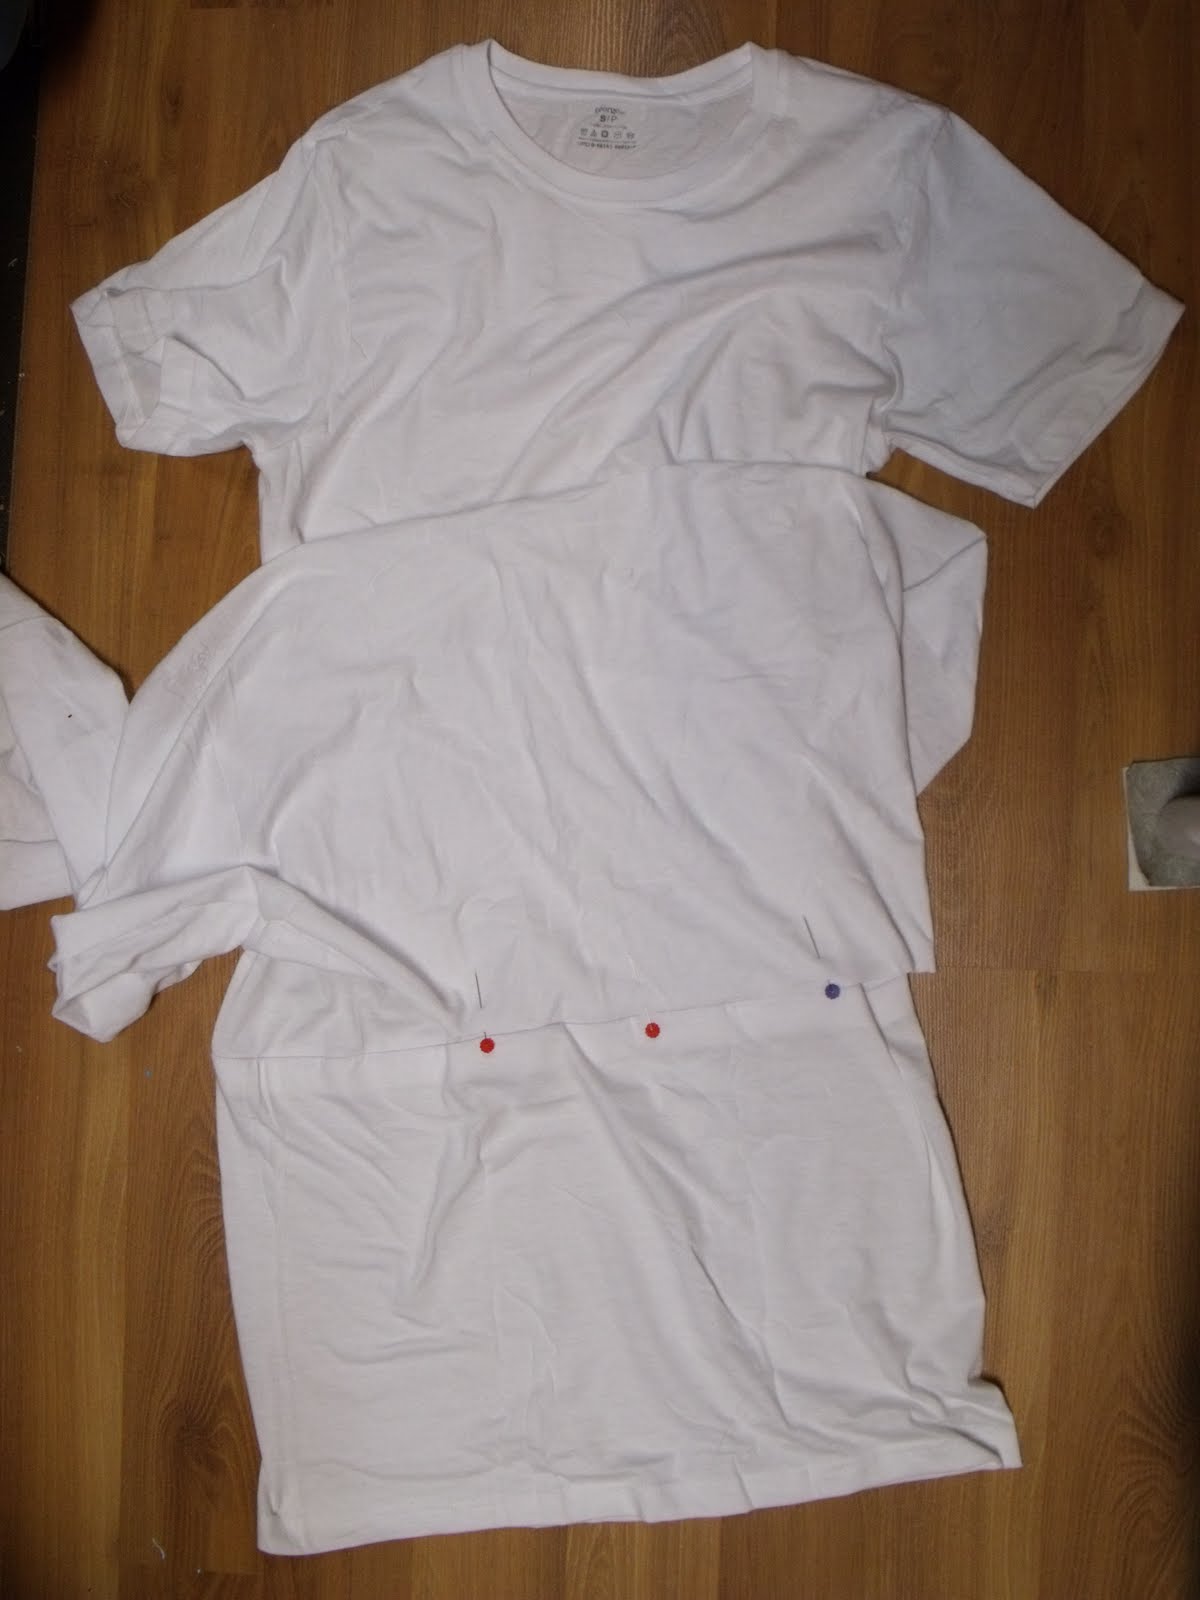
Pin the raw edge of t-shirt tube to the bottom hem of the other small shirt, right sides togather. Then sew them together, sewing it so that the hem stiching is hidden inside. You will want to use a ball point needle, otherwise a normal needle will make little holes in jersey! I learned that the hard way :P Also you will want to use a stich with some stretch, I used a fairly narrow zig zag. Oh yes!!! And use polyester thread! It has some stretch to it, otherwise if you were to use cotton thread it may snap when the fabric stretches!

You should now have something that looks like this!
Cut the sleeves and the bottom hem off the large shirts. When you cut the sleeves off, make sure to cut right along the seam, so you don't damage either the shirt or the sleeves, later those sleeves are going to be used. Then starting from the bottom, measure however long (13" for me) the skirt part is, mark it then draw a line and cut along it.
Measure from the bottom another 13" (or however much you measured before). Mark it, cut it, then square it off (as shown above). And also cut the neck band off.
Get one of the 13" tubes from the bottom of a large shirt (from the step before), cut it down one edge so it makes a long strip, and pin it along the seam where you sewed the shirt to the skirt part. You will want to sew it so that when you are wearing it, the stiching will be hidden. After you have sewn it, you pull the top of the fabric piece down to match up with the bottom hem. If I have just totally confused you, let me know and I will try to clarify it :)
Put a sleeve from the large shirt nose to nose with a sleeve on the dress. 
Then pull the large sleeve over the dress sleeve untill the shoulder seams match up. Well the large sleeve doesn't have a shoulder seam, but match up where it use to be. 
Pin it on, then sew it down.
This is the same method as the first flap that we sewed on in the last step. When you pull it down, the stiching will be hidden inside. And now you have a double sleeve!
Now cut just the ribbing off of the collar. Not the stiching, just the ribbing!
Close up of where to cut.
Take a 13" piece like this that has a dip in it from the neckline.
Smooth out the neckline so it... so that little piece is gone.... just look at the picture and cut that off!!!!!!!
Pin the last piece's neckline to the neckline of the dress. The piece should be inside the dress now. You want the right side of the piece, to be against the wrong side of the dress. Then top stich!


Take the other tube from the bottom of the other large shirt, and cut a slit down it too. Then do the same sort of thing as you did on the last layer. Line up one edge with the seam from the last layer, then mark where the top comes to, then draw a line all the way around the dress at that point. Take the bottom edge of the strip, and pin it just above that line. Sew it down like you did before, so that when you pull the layer down, the stiching is hidden!
Take the piece with the neckline cut out of it, and cut on either side of the neckline where it is full length(13"). Now you have two strips. Take the other piece and cut two more pieces the same width and 13" long.
Sew a piece on to the shoulder seam in the same method as the layers on the dress, so when you flip it over the seams are hidden.
See, here it is flipped over. you can top stich it if you like :)
Or you can pin them on with the raw edges tucked under, then topstich them.
 
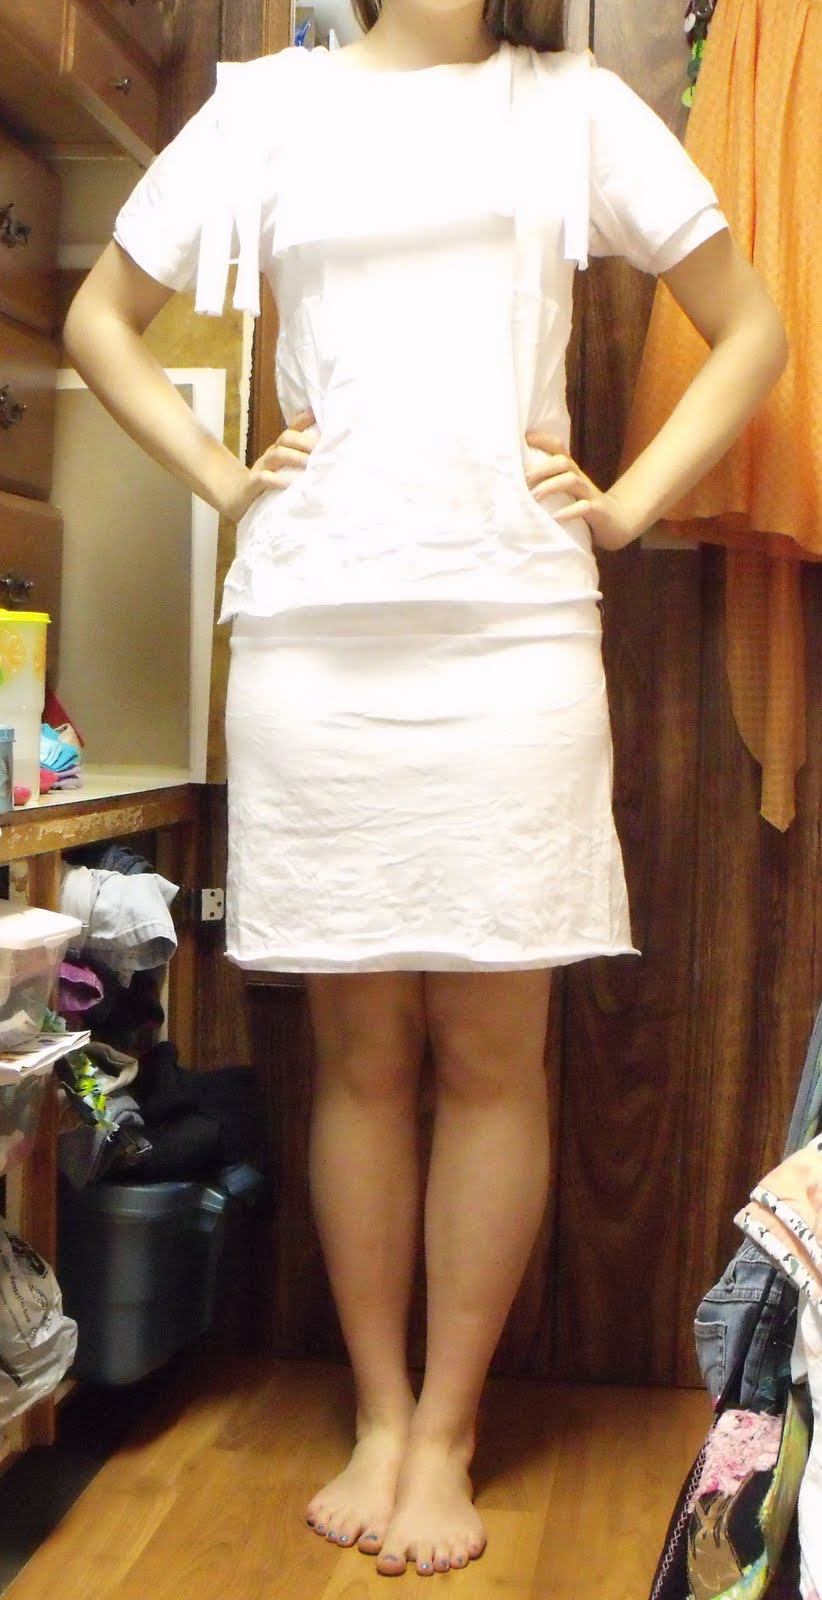
You should now have this!! You are about half done :)
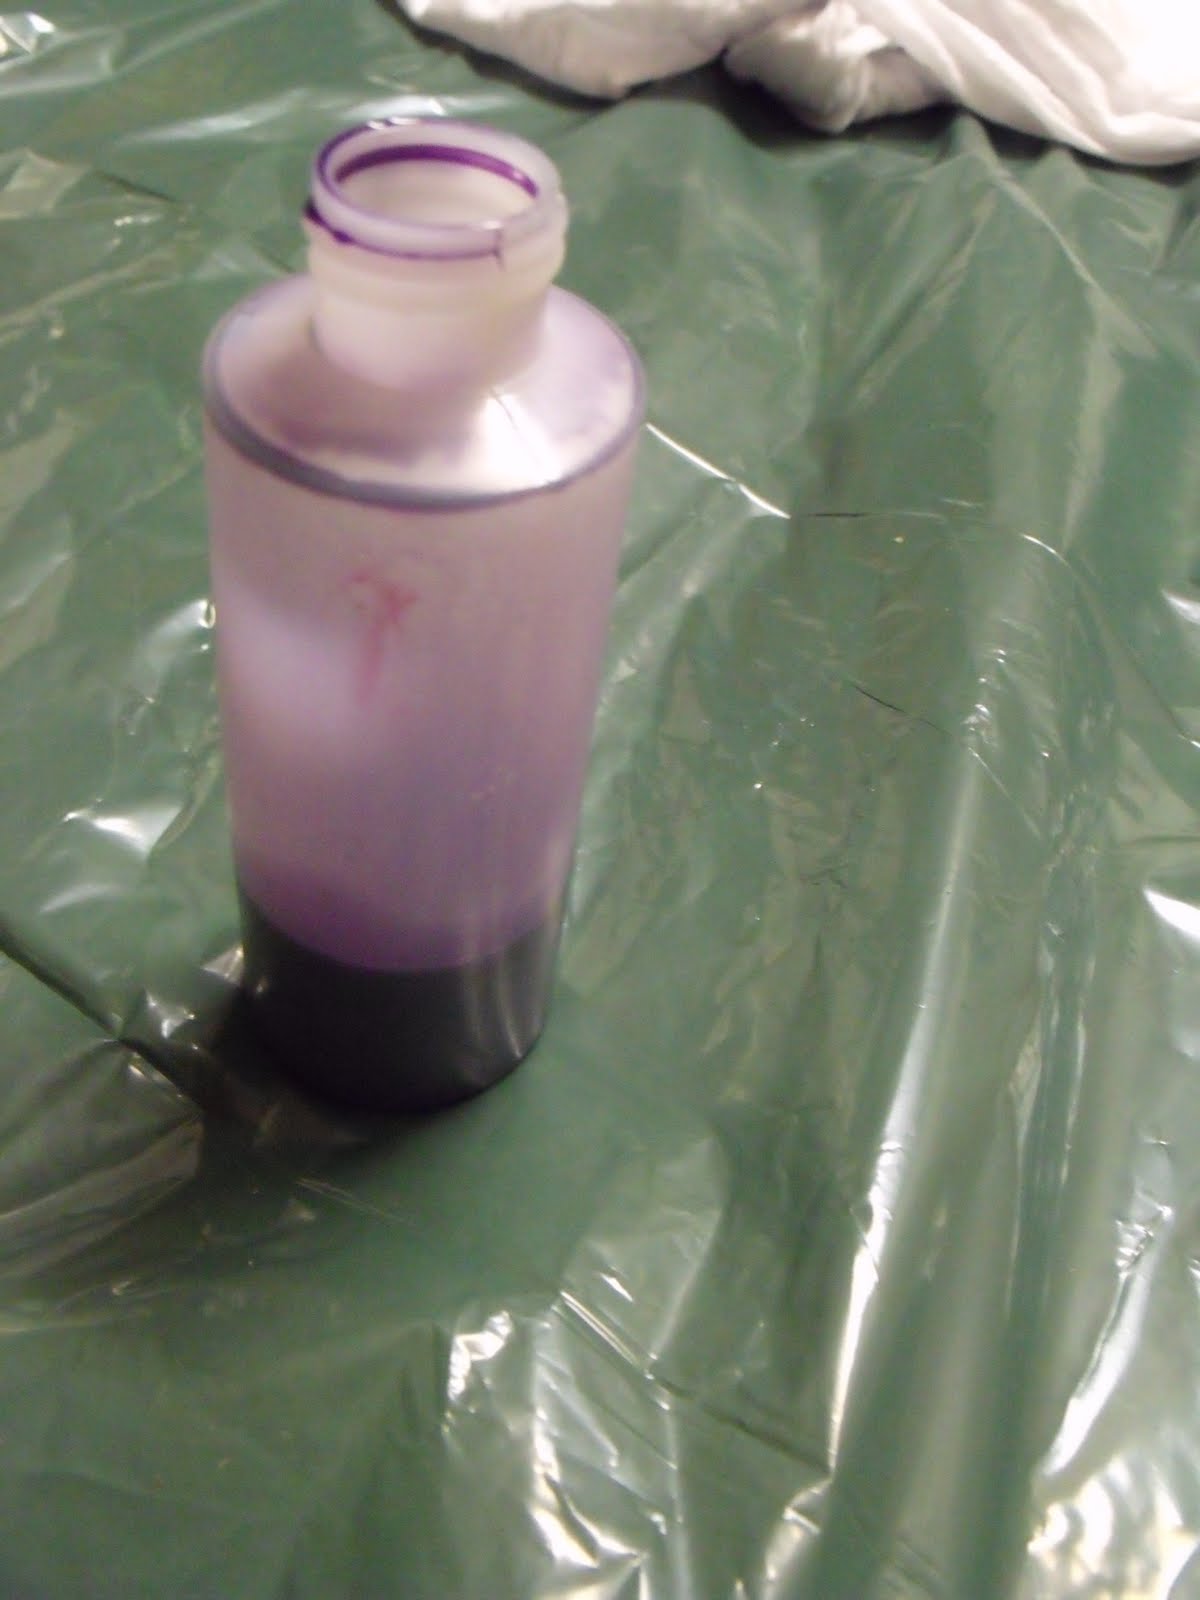
Now you can dye it! Or just leave it whatever color your t-shirts are.
Now that the dyeing is done, I have started to snip the fringe. You don't want to cut the fringe too thin or else it may be too flimsy and rip off. But if it's too thick, it won't look as good. You can fold it the layer in half and cut it (sometimes things get a little tricky doing it this way).
I like to do it this way, with the layer unfolded. Make sure you keep the dress out of the way so you don't snip any holes in it (that happened to the last one I made). And be carefull to not snip clothing or anything else!!!
Now you just snip! Snip! Snip! Snip! Snippity! Snip snip!

Take a break and appease the cat so she doesn't paw at the fringe! Isn't she cute :)
Snip. Snip. Snip. Snip....SNIP!!!!
Keep going till all the layers are done, including the one around the neckline, and the ones on the shoulders.
Cut the hems off the sleeves.
It should look like this! Make sure both arms are the same length.
Cut a slit in the top of the sleeve, at the shoulder seam. Make sure to not cut through both layers, unless you don't want a sleeve. Cut out the seam in the bottom of the sleeve at the armpit. Then starting at the top, cut the top sleeve into a fringe.

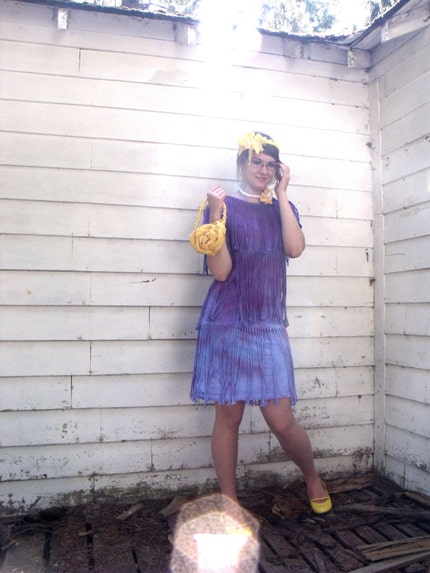
Ta da!!!! You are done :) Yaaaaay! *round of appluase*
The back of it.

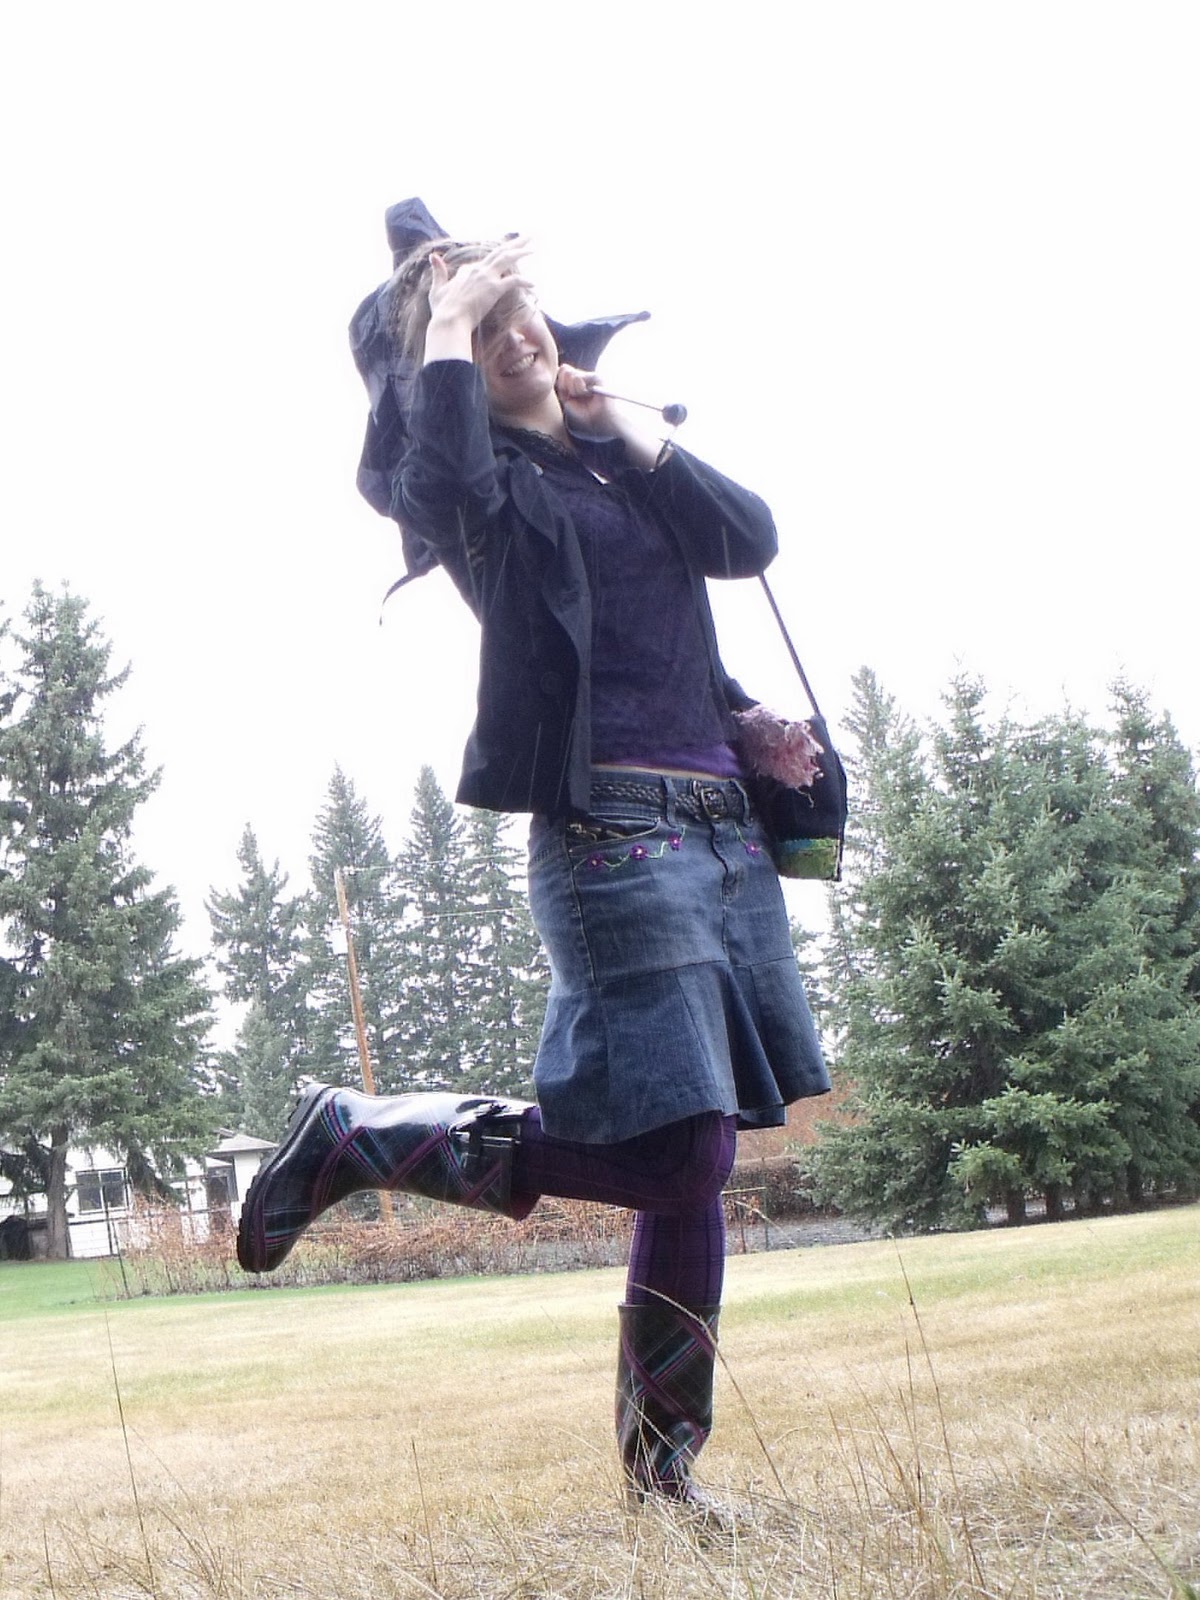
Now get out there and twirl in it!!!! Let those fringes fly! :D

If you would like to purchase this dress, you can buy it at my Esty shop Be My Bumblebee!

If you don't understand my instructions, let me know and I will try my best to help you out! I hope you all enjoyed this tutorial :)

Friday, April 16, 2010

I'm Leaving!!!

Yes, it's sad. But I'll be back. I am just going to the homeschool convention (I should be in the car right now), then I'm going right from there tonight to camp for the weekend. I have a couple of great tutorials that should be done pretty soon after I get back :)

Wednesday, April 14, 2010

The Best Hair Treatment Ever!!!

I recently decided that my hair was getting awfully dry, brittle and easily tangled, and that something must be done about it!!!! So I looked up the most wonderfull treatment for it, Snowymoon's Moisture Treatment! I had tryed it out once quite a long time ago, but I forgot just how great it really was!!! After I did it, my hair was silky, shiny and easy to untangle!!! Wow! I love it :)

I started this recipe then I realized that I didn' have a lot of any conditioner that is known to work for this (follow the link above for a list of condtioners that do and don't work). As I was putting it in my hair, it felt like it wouldn't wash out very well at all. It had a thick sort of buttery texture, and everything I have ever put in my hair that felt like that ended up leaving my hair looking like a greasy mess! Take it from me, I have had more than a few mishaps! But everything turned out wonderfully Yay! :)

I used 1 TB of honey.
I melted the honey.

1 TB of Mane 'n Tail, with a dash of some leftover Pantene.
Almost 1 TB of shea butter. Surprisingly, it wasn't too heavy for my fine and thin hair!

I forgot to get a picture of it, but I also added 1 TB of Fruit of the Earth clear aloe vera gel. Then I just mixed it all up and slathered half of it on my wet hair. I left it in a bun for around an hour or two, then washed it out. And voila! Shiny happy hair!!! :D

Monday, April 12, 2010

How to Stretch Paper

You may be thinking: How hard can it be to stretch paper? Hold on to each end of the paper and pull! Ha ha ha!  Well, anyway. Paper stretching is really usefull for all kinds of drawings and paintings. Anything where you would have to wet the paper! This technique keeps the paper from warping and getting all bubbled.
You will need:
Scissors
Stapler (the one I used was one finger 15 page power)
Sponge
Container for water
Butcher's tape


You will also need:
A plywood board big enough for your paper
The paper you are stretching

Get your sponge wet (Not drenched, but not squeezed dry. Sort of in between the two.) Then run it back and forth across the paper, making sure to not leave any dry patches. The edges often get missed, so watch out for that. And then do it the opposite way. It you ran the sponge along the paper vertically, then this time do it horizontally. Let the water absorb for a couple of minutes. Then flip it over and repeat!
Next get out the butcher's tape (I cut mine in half length wise) and run the wet sponge over it. This will get the glue on the tape working. Then just stick it down over the edge of the paper, with about 1/2 a inch overlapping the paper. Make sure you press it down really well, starting at one end and working your way to the other end.

Repeat on all four sides.

Staple down the edges to make sure they stay where they are suppose to. I normaly use one on each corner, then three or four on the long side, and two or three on the short side.

This one I stapled like crazy because this was the first time I have ever used that expensive of paper. $2.99 a sheet!! And that was the cheapest type of Arches I could find. Strangely enough, the cream Arches paper was cheaper than the white Arches paper. You would think that it would be cheaper to not color it cream, and just leave it white. Anyway, here I am rambling on again :p 

Close up of the staples!

Ta da! The little bubbles should smooth out when it drys. What happens is, when the paper is wet it swells and gets bigger. Then you tape it down and as it drys it shrinks again. When it is all dry the paper will be stretched taut. Thus the reason why it is called stretching paper! I would try this out on cheaper paper like Mayfair untill you get the hang of it. It took me a while to get it down pat. But this is so usefull, it is well worth it!


Here is the box study I did on it. I used a ink wash in case you were wondering :)

Oh, and you will want to clean off your board before you use it again. Just wet the tape with the sponge, and let it soak for a bit. Now the glue should be moist, so you can just pull the tape off! Some bits almost always stick, so just get it nice and wet, then use a straight edge to scrape it off (I used a old bank card). Then I wash it down with the sponge to remove the glue residue. Because, a couple of times I didn't get all the glue off, so it glued my paper to the board (just around the edges). It was nothing that major, but now I make sure to wash the glue off.